Contents
Required tools
Go to Resources for download links.
- Blender
- SuperBMD
- j3dview
- Any text editor you like (Notepad++ is recommended)
- Collision Creator
- Arc Convertor
- Whitehole
- Wiimm's ISO Tools (to get your SMG1 dump)
Required tutorials
- How to import a custom model into SMG1
- How to import a custom model into SMG1 with 1 in-game material
- How to import a custom model into SMG1 with 2 or more in-game materials
Steps --- files used: tutorial4.zip
First, locate the in-game model containing the animated material you want, I will choose the lava material this object has (IceLavaIslandLavaMovableStepA located in IceVolcanoGalaxy, Fig. 1).
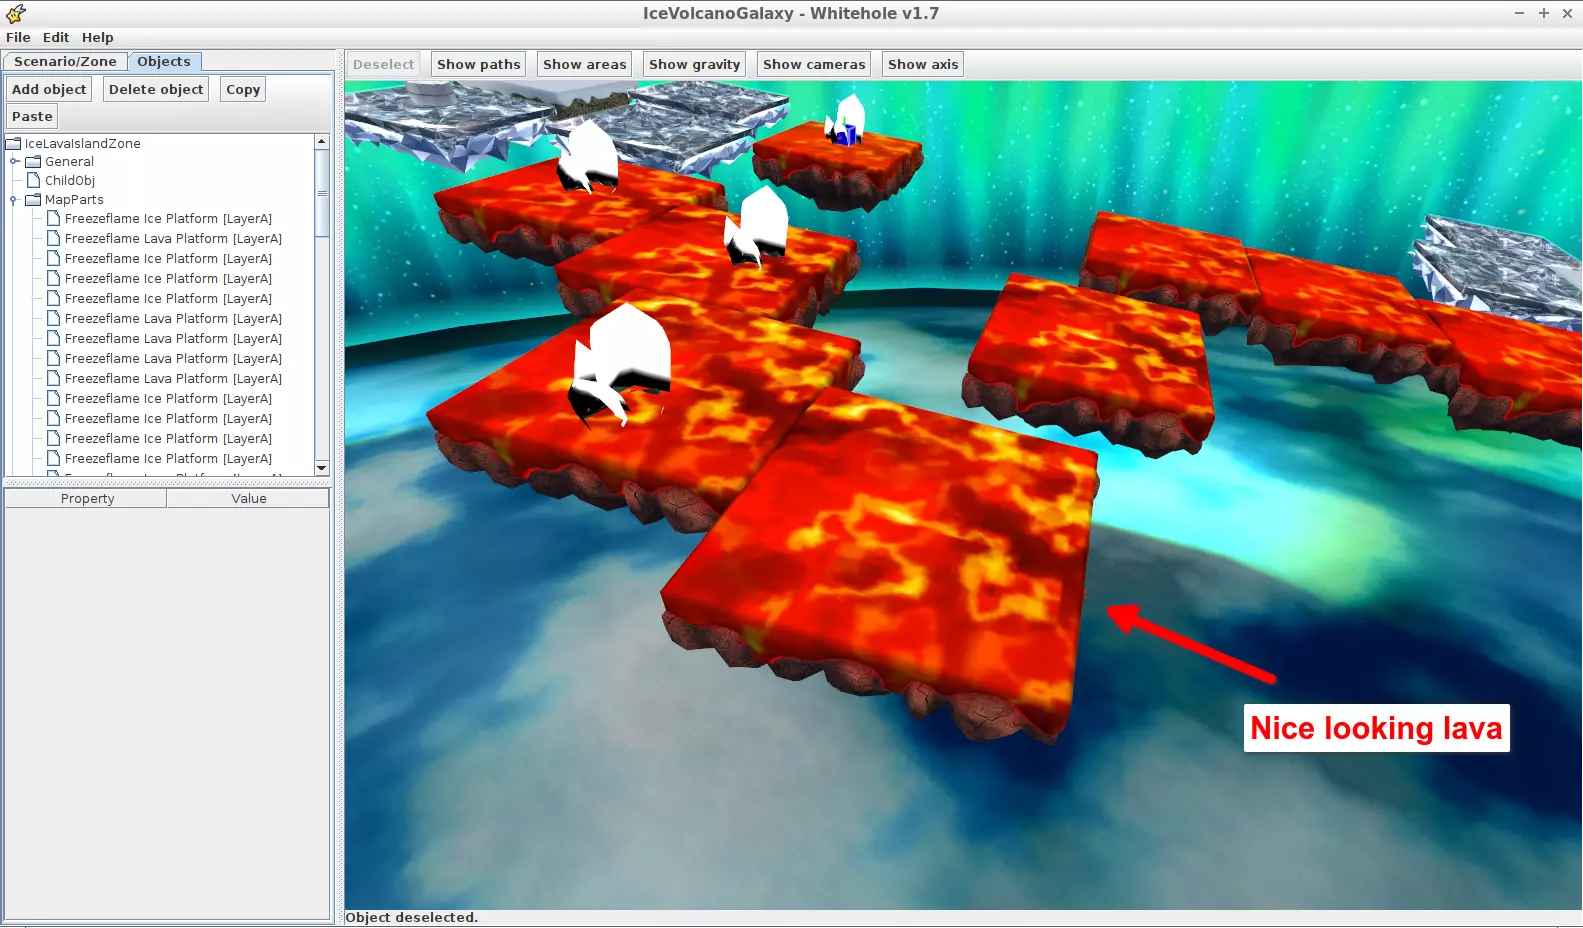
(Fig. 1 - Model containing the animated lava)
Do the same mentioned in the previous tutorials to get the material’s name (through the DAE file exported by SuperBMD and opened in Blender or by guessing the material by its associated textures from the JSON files exported by SuperBMD). In this case it is rapidly done by guessing the material from its texture associated from the material JSON file, since the lava texture is very notable (this material comes with 2 textures, Fig. 2).
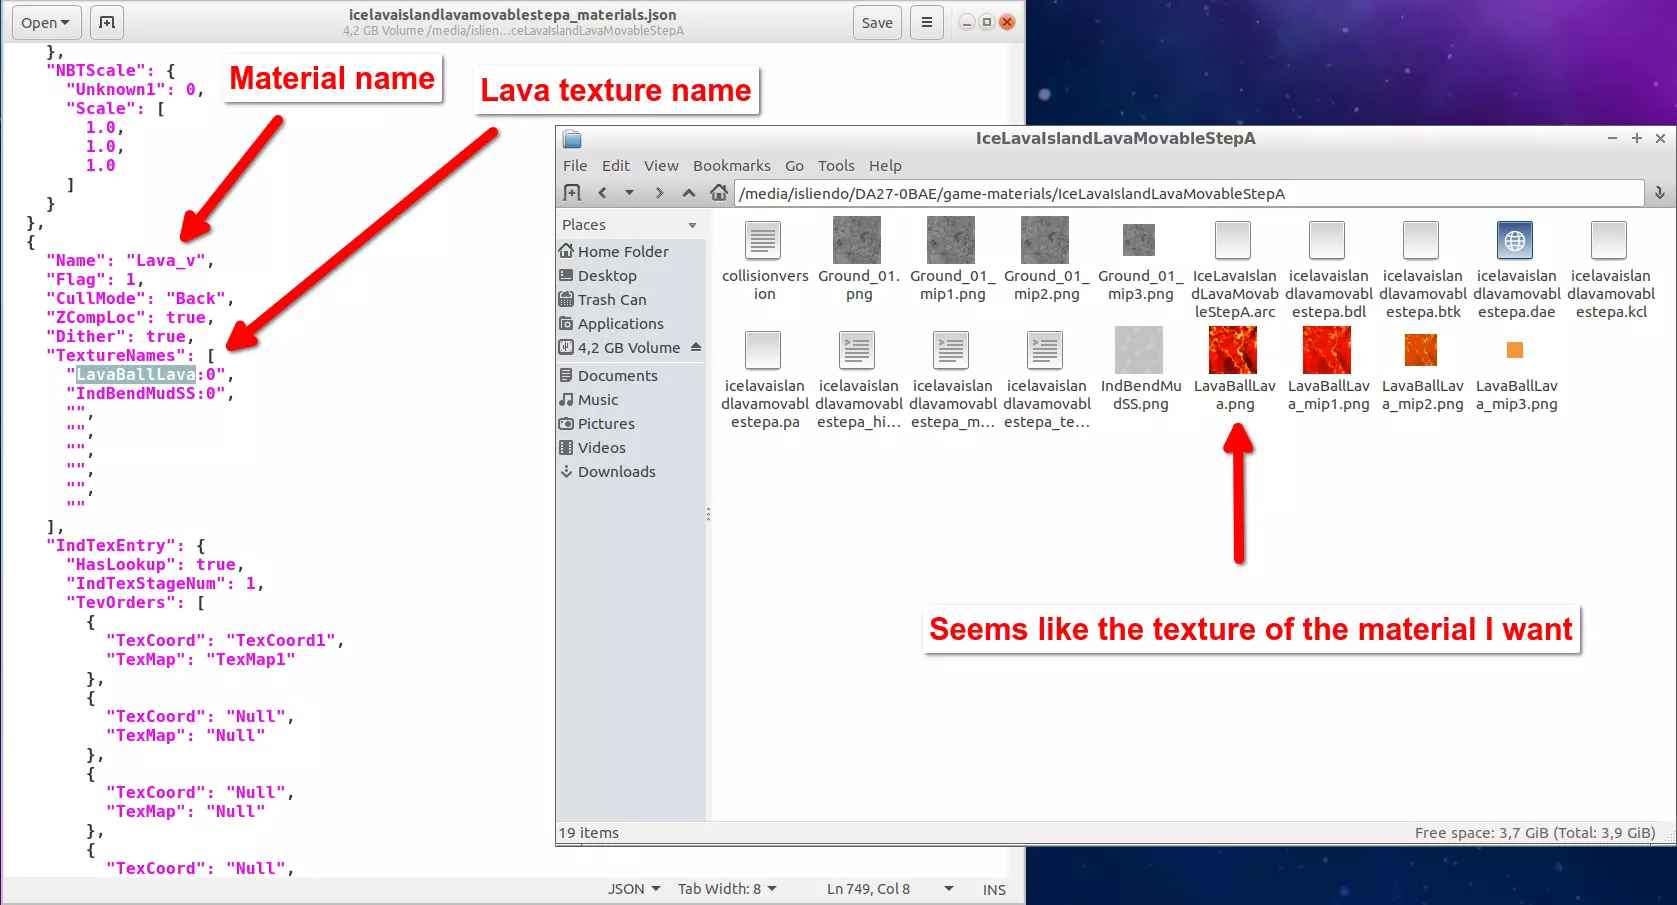
(Fig. 2 - Material name search method with recognizable texture)
Assign a material with the same name as the target material to the custom model on Blender and set up the special effects the model will have so that the texture looks nice (remember to triangulate your model, scale it and reset the models properties with the Ctrl + A functions at the end, Fig. 3).
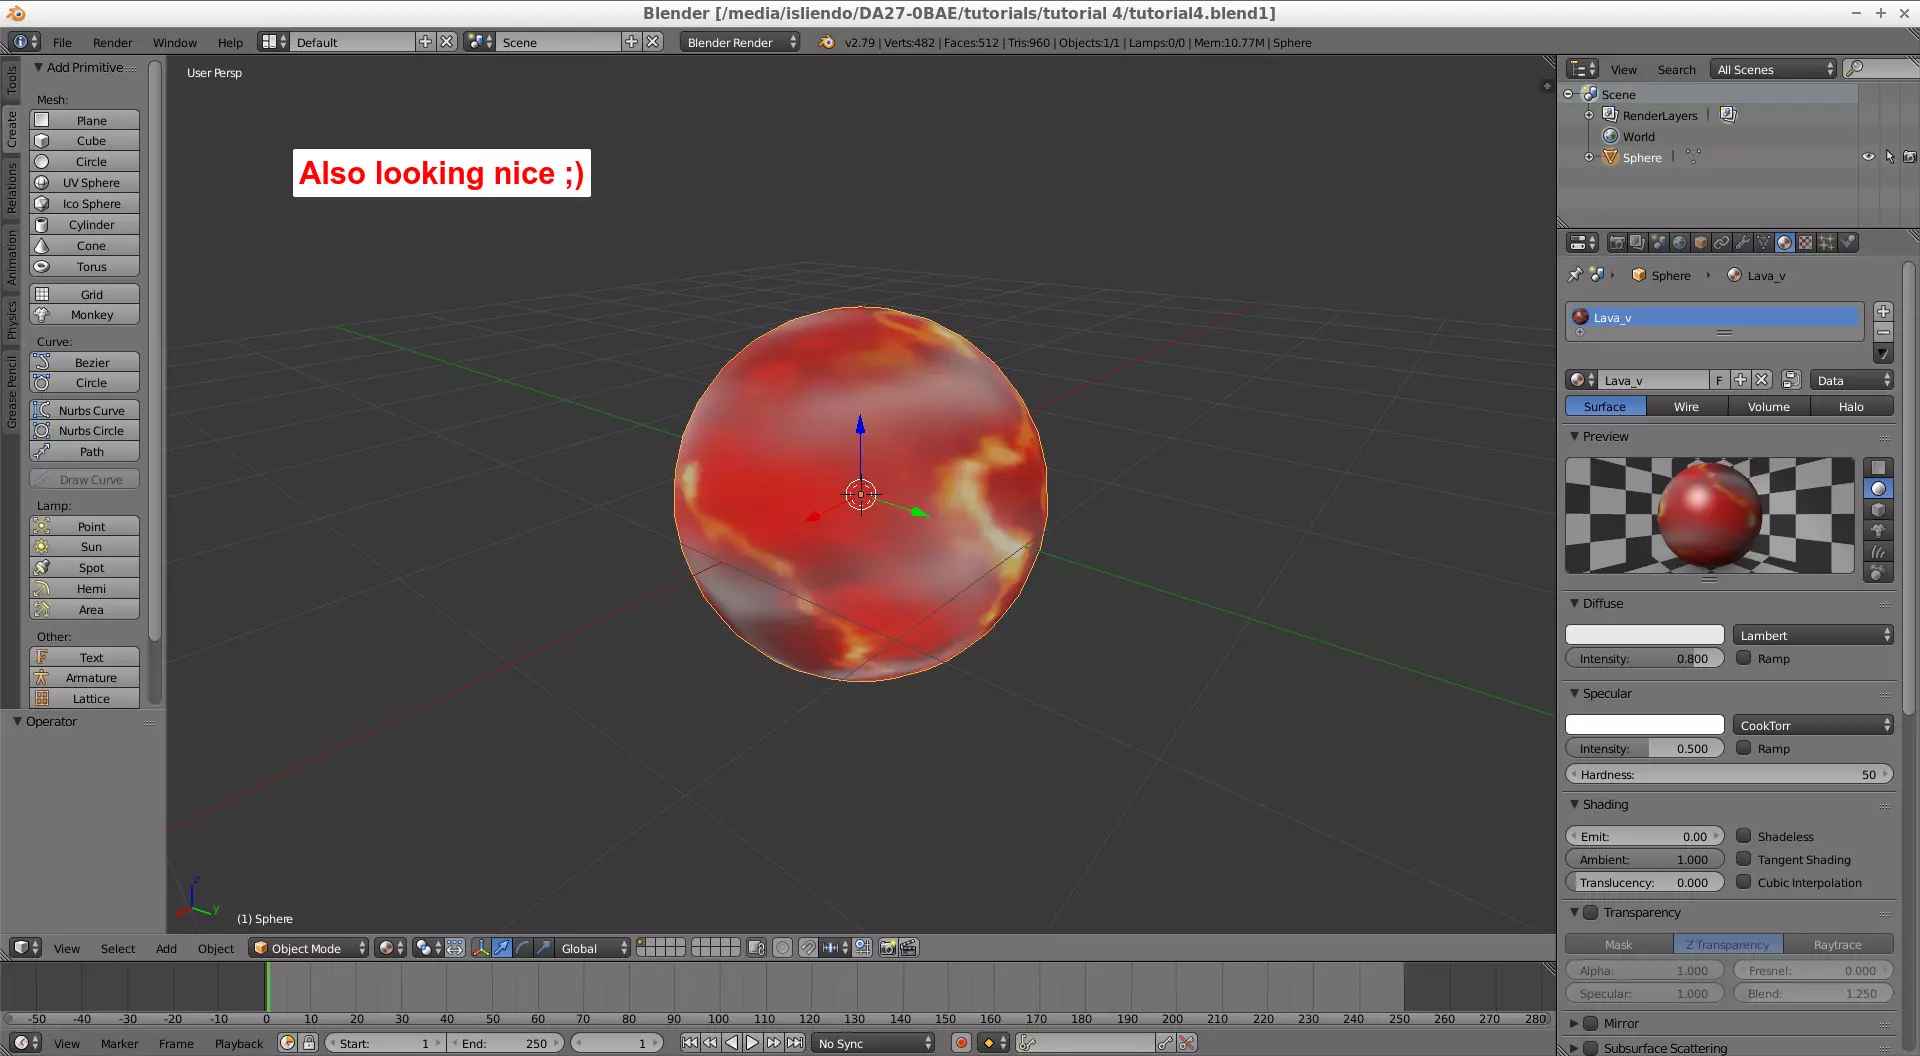
(Fig. 3 - Custom model with respective textures/materials applied)
NOTE 1: in the contextual menu containing the unwrap options there are other options that might also be helpful when applying a texture the faces of an object, every one of them unwraps in a different way (experiment with them). I used the Sphere Projection unwrap method to get a better and rapid result for this object.
Export your object as a FBX and OBJ files to a known location and then put in the same location the textures used and both JSON files from the original model (Fig. 4). As this object only requires a single material we can skip doing the materials/textures JSON file from the previous tutorial and use the ones from the in-game model by removing the unused textures from the textures JSON file so that SuperBMD does not crash (Fig. 5).
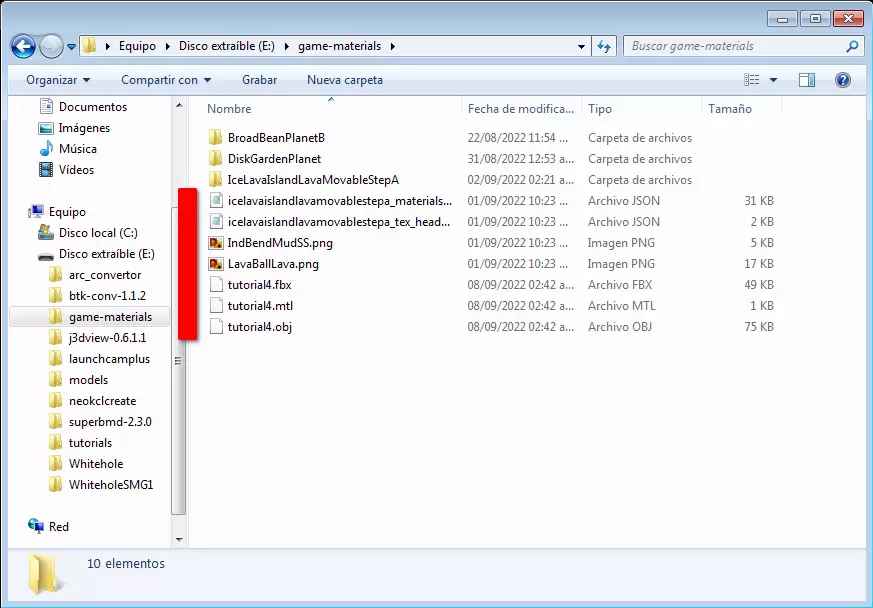
(Fig. 4 - Needed files in the same location)
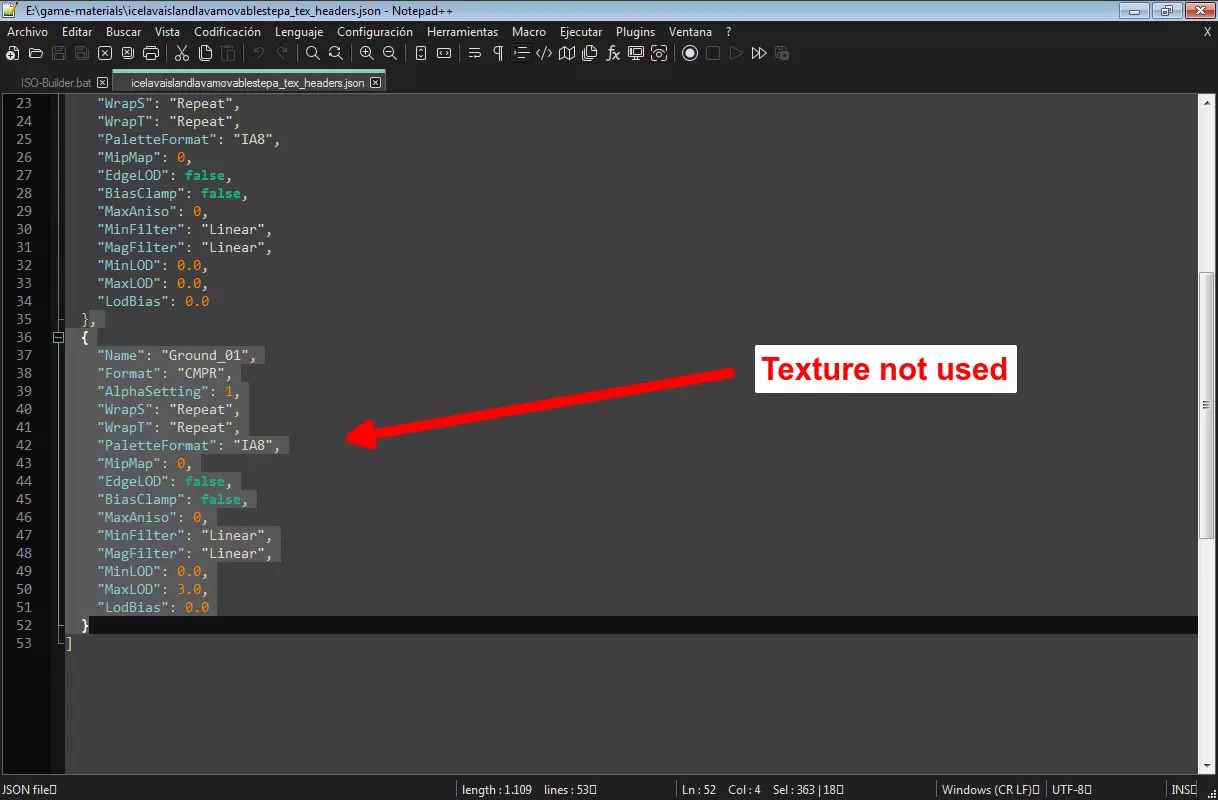
(Fig. 5 - Unused texture removal from the textures JSON)
Create a BMD file using SuperBMD with the following command replacing the pertinent filenames:
path\to\SuperBMD.exe object-name.fbx --mat materials.json --texheader textures.json --rotate --nosort
and get the KCL and PA files with NeoKCLCreate (I choose "Lava" for the floor code :P). Open and save the BMD file created from SuperBMD as a BDL file with j3dview and then put the BDL, KCL and PA files into a common folder named exactly as them (Fig. 6).
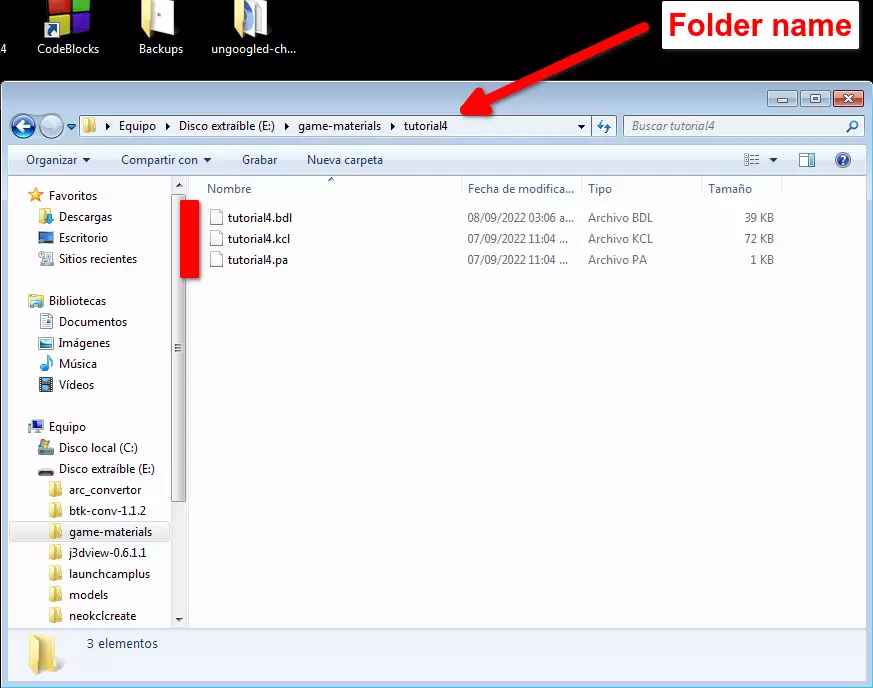
(Fig. 6 - BDL, KCL and PA files)
Now, with that being done, it is time to put the texture animation file inside that same folder. BTK files are texture animation files (File formats). When extracting the contents of the BDL file of the original model containing the animated material, a BTK file will be extracted, copy that file into the folder of your custom model and rename it as your model (Fig. 7a and 7b). This is basically the only thing to do to import a material animation to your model (being honest, thank god it is).
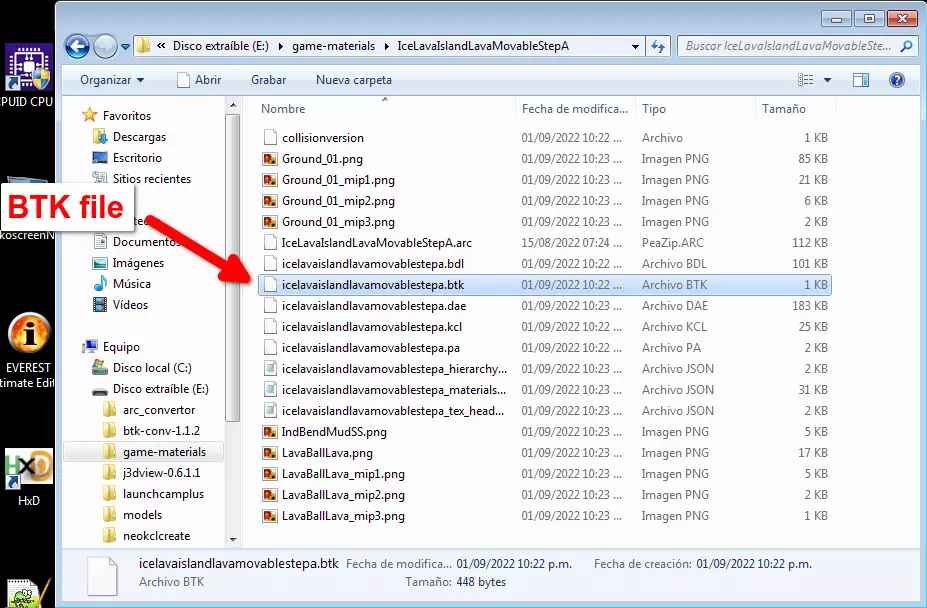
(Fig. 7a - In-game model BTK file)
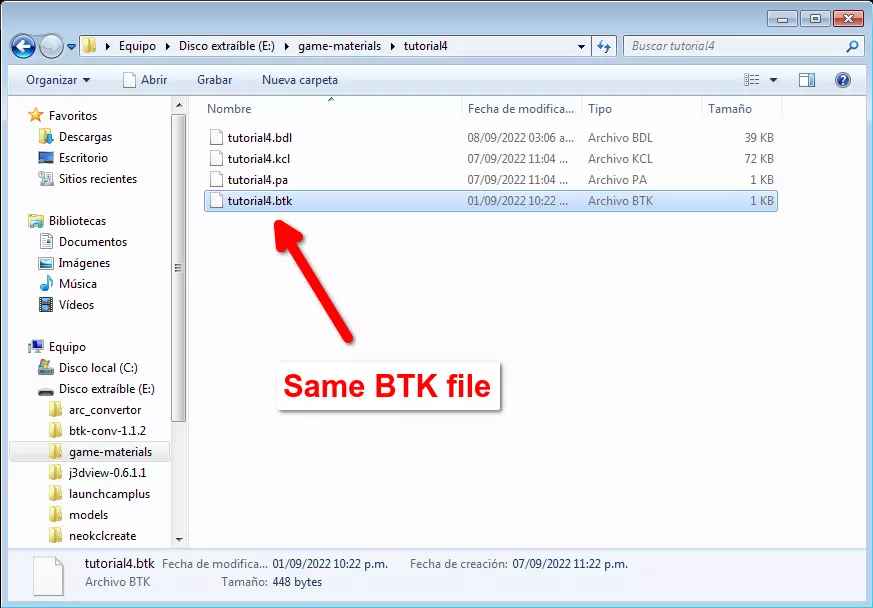
(Fig. 7b - Same BTK file renamed to the name of the custom model)
At this point you know what to do: Generate an ARC file with the mentioned folder, yaz0enc it, rename the output file to ARC only, copy that ARC file to the ObjectData folder of your SMG1 dump, open Whitehole, open the PlanetMapDataTable with Whitehole’s BCSV editor and add your custom model to a new row, save, open a Galaxy of your choice, place any object on the Galaxy, change its "Object property to match your custom model name, and, if everything went correctly, you model will appear in "Whitehole. Next is to test on game! (Fig. 8)
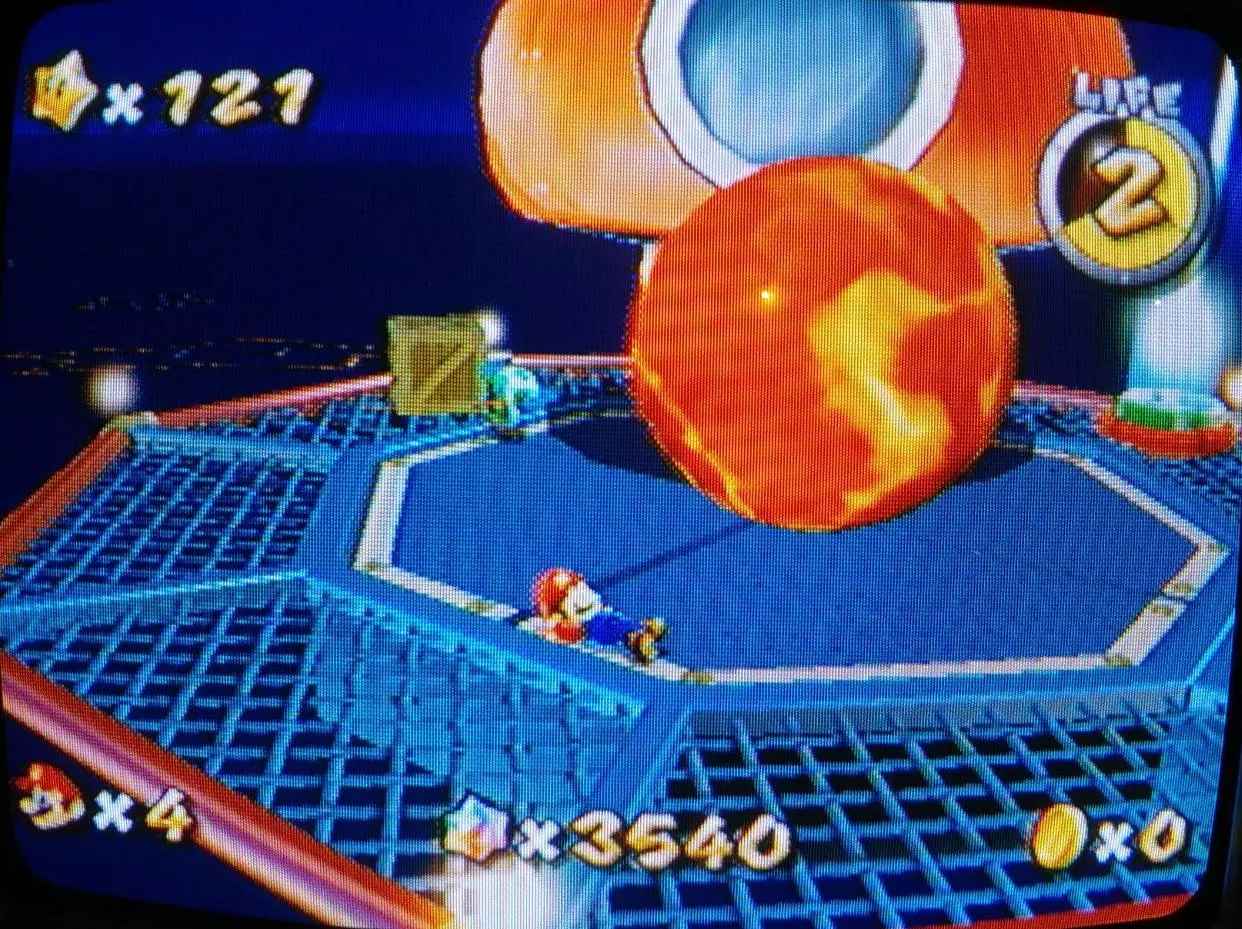
(Fig. 8 - Mario chilling VERY CLOSE to a body of HOT lava)
NOTE 2: you cannot see the lava animation in Fig. 8 but it was applied correctly.