Contents
Required tools
Go to Resources for download links.
- Blender
- SuperBMD
- j3dview
- Any text editor you like (Notepad++ is recommended)
- Collision Creator
- Arc Convertor
- Whitehole
- Wiimm's ISO Tools (to get your SMG1 dump)
Required tutorials
- How to import a custom model into SMG1
- How to import a custom model into SMG1 with 1 in-game material
Warnings
You don’t need to use in-game materials all the time to build your models, just use them when you need to add special visual effects on your objects.
Steps --- files used: tutorial3.zip
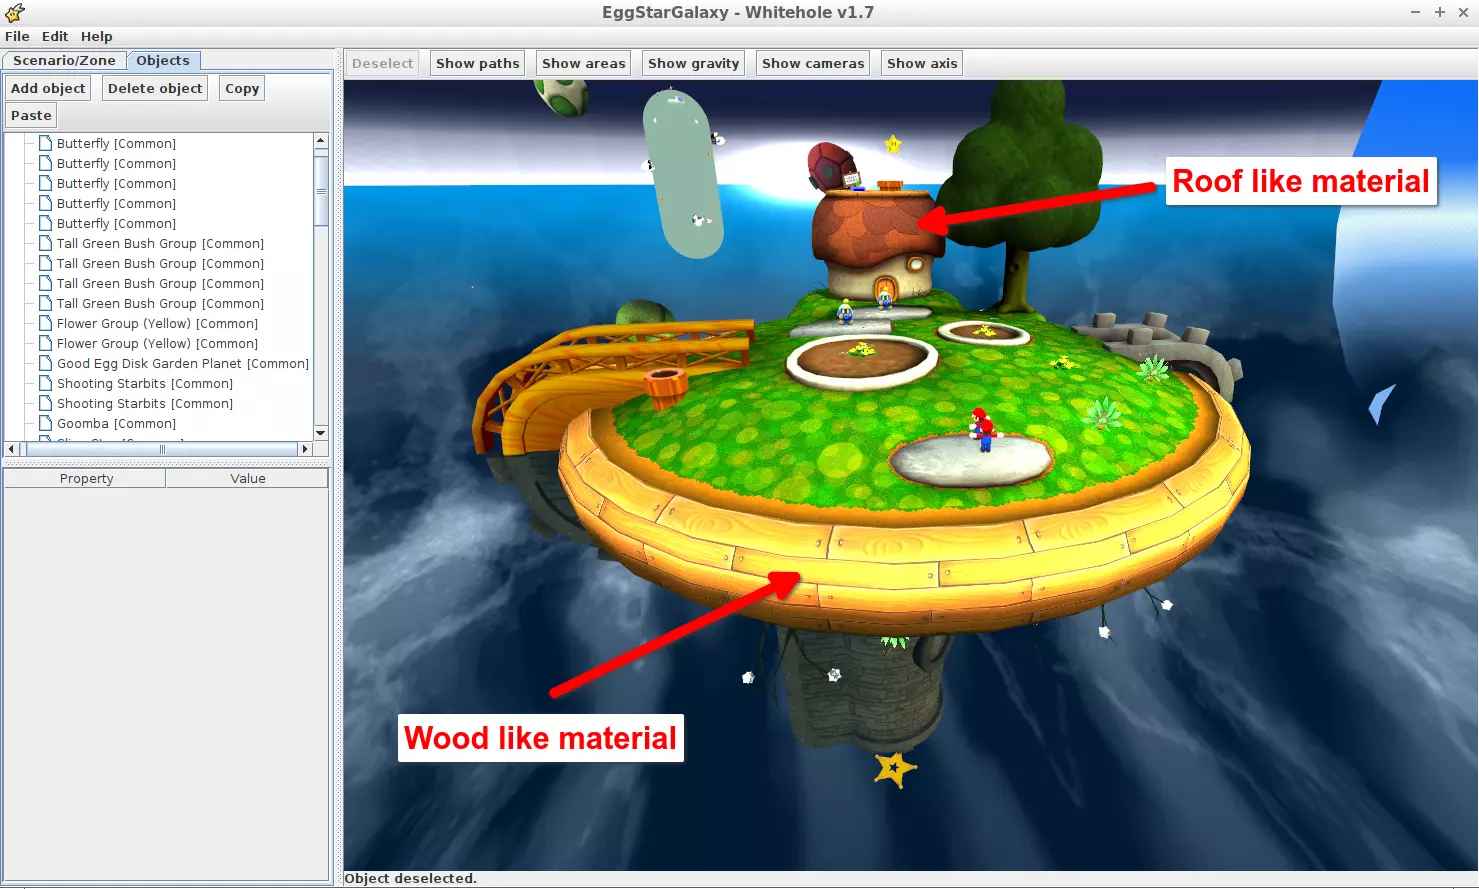
Find in Whitehole the objects that have the materials you want. As I want to import a couch to the game (Rosalina just cannot let the poor plumber rest so I will gift him a couch, Fig. 1) I need at least more than 1 material for this object, 3 to be exact (so it looks more like a real couch). In this example all the materials I need are in the planet shown on Fig. 2 ("DiskGardenPlanet"). You can extract your materials from several objects (you will have to deal with more JSON files) but to keep the tutorial simple I extract my materials from a single object from the game.
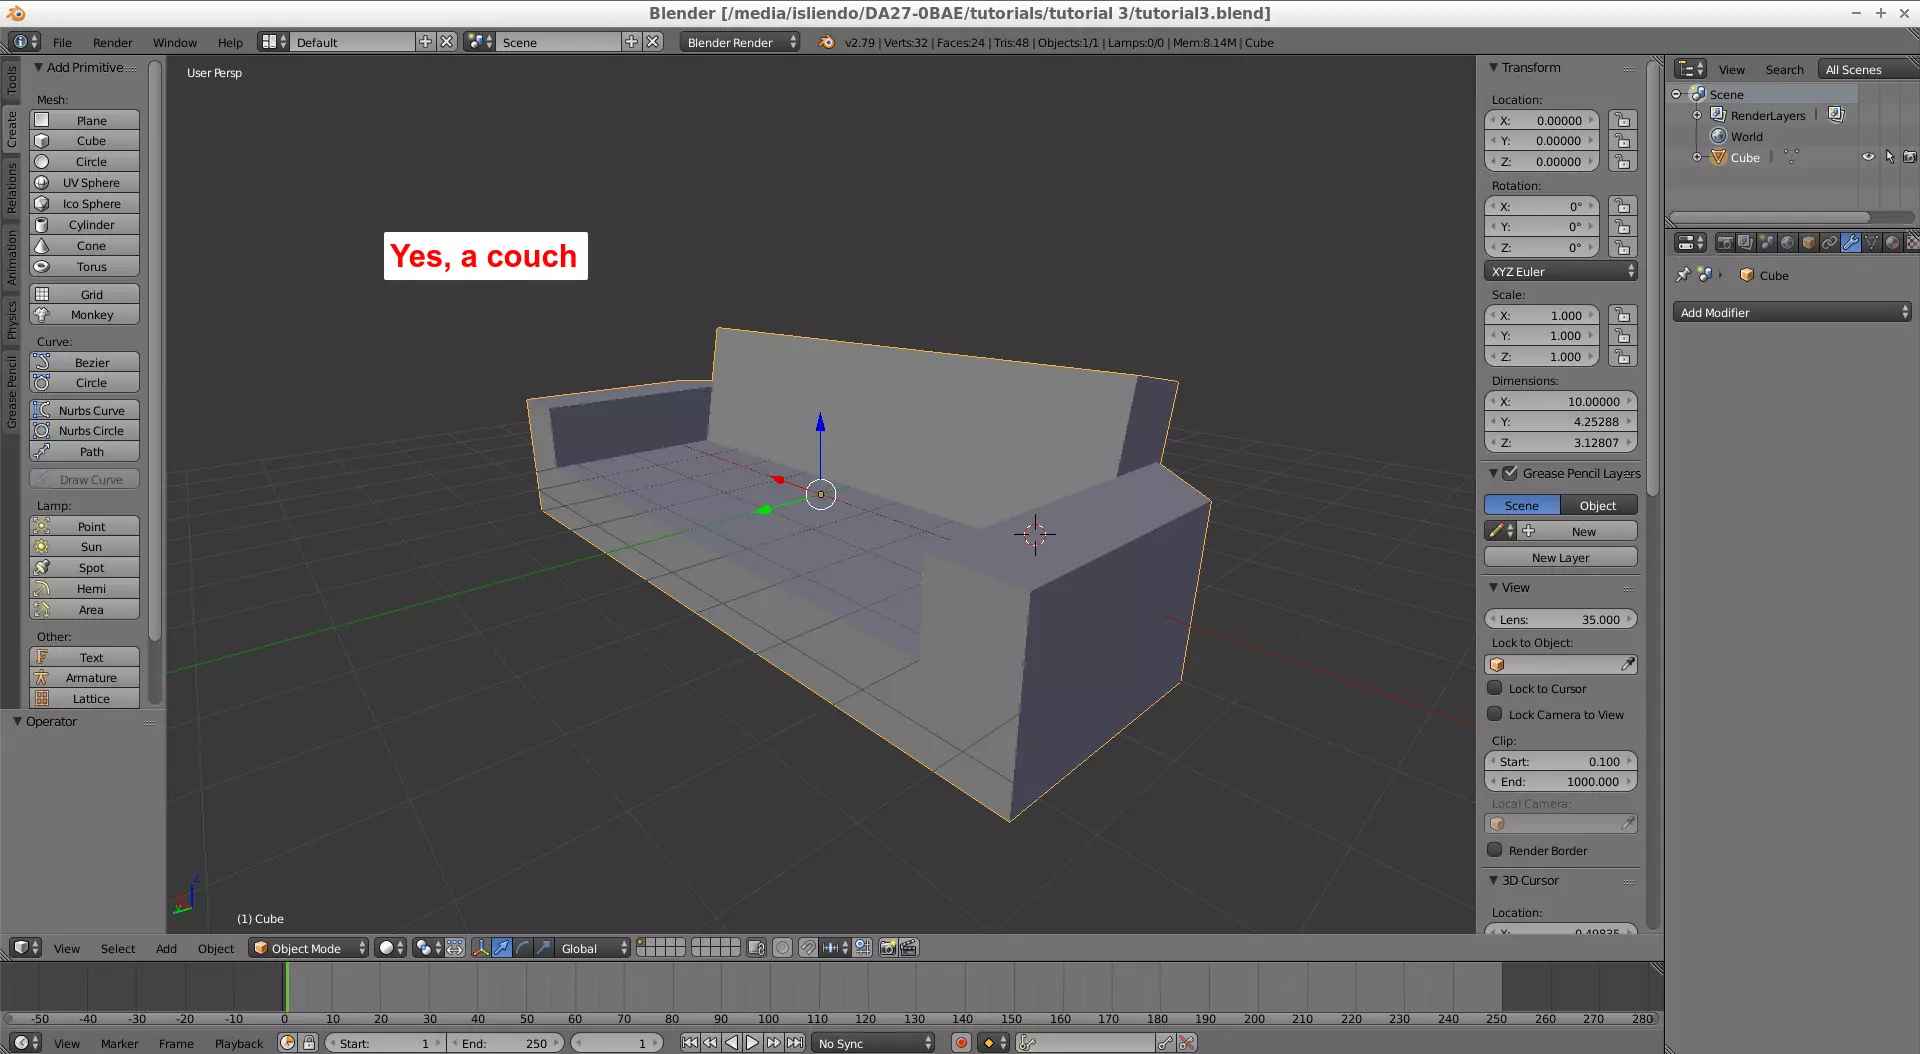
(Fig. 1 - Tutorial model example, a couch)

(Fig. 2 - Planet with the materials I want)
Get the ARC file associated with the selected model ("ObjectData folder of SMG1 dump), put the ARC file in a known directory to work with it, extract its contents ("Arc Convertor) and extract the contents from the BMD/BDL file ("SuperBMD). You will get then the files needed to get the materials for your imported model (DAE, JSON and PNG, Fig. 3).
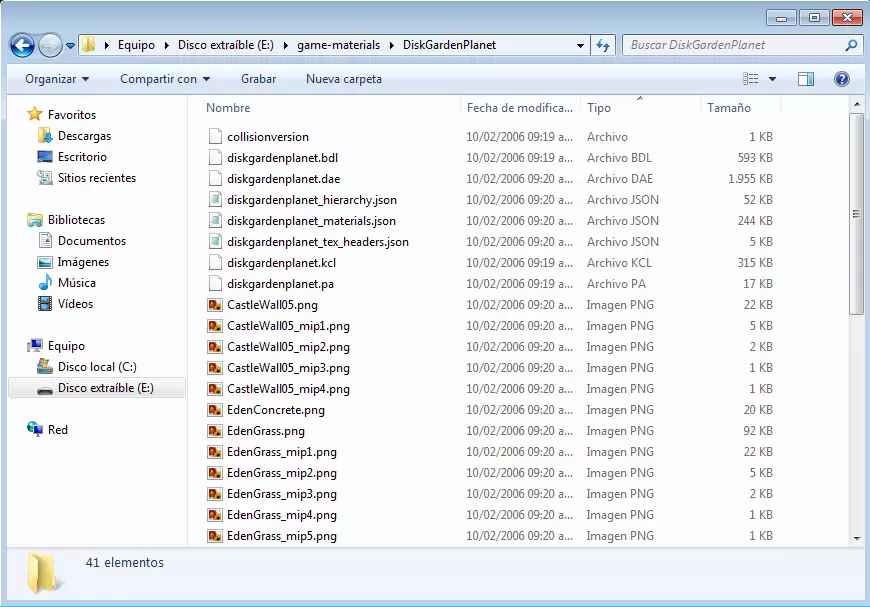
(Fig. 3 - All files extracted from the planet's model file)
One way to get the materials names, is like the one explained on the previous tutorial: open the DAE file of the object in Blender, search for the place the material you want is and then after clicking on it you will get its name on the material tab (that for each material) but another way (if you are really sure that the material texture is strictly assigned to your material only) is to search for the texture associated to the material you want (the PNG files) and locate the material that has the matching texture on the materials JSON file. For example, the 3 materials I want are displayed on Fig. 4a and 4b. If trying to search for the wood-like texture among the PNG files extracted, the PNG file associated to that texture is called "EdenWoodPanel. Searching in the materials JSON file, there is only one occurrence of that string so I know that the material having this texture has to be the material I want ("WoodPanelMat1_v, Fig. 5). By fortune, the same could be applied to the other materials (Fig. 6 and 7), if not you would have to view the DAE file on Blender to get more information of your desired material.
- Roof-like texture name Yane3D, material associated HouseTopMat_v.
- Stone-like texture name TopCastleTile, material associated StoneWall2Mat_v.
(Fig. 4a - 2 of the 3 materials required for the custom model)
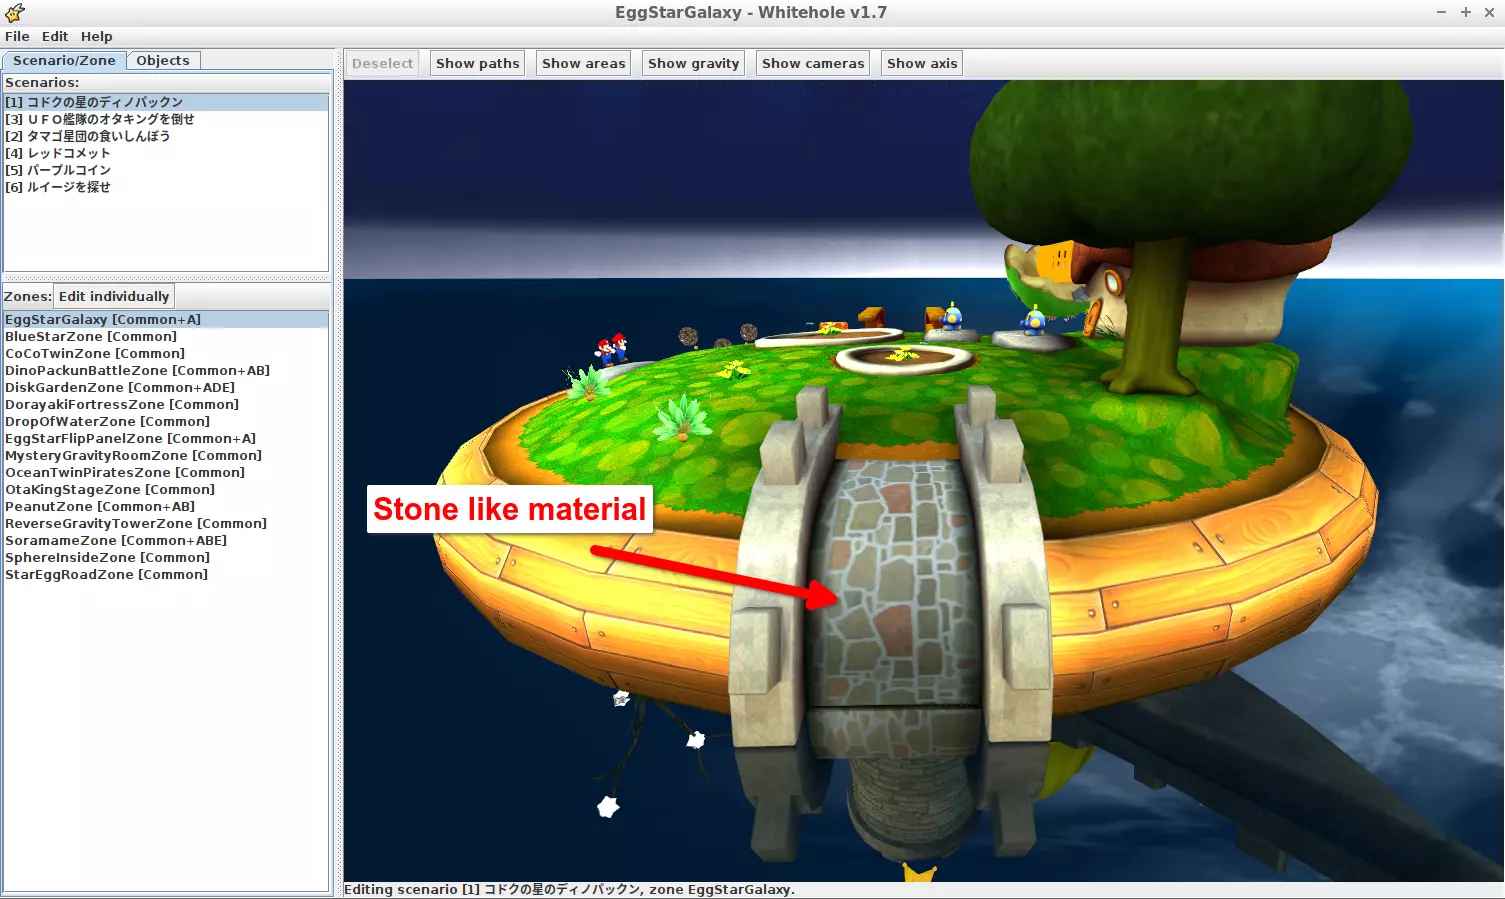
(Fig. 4b - Third material required by the custom model)
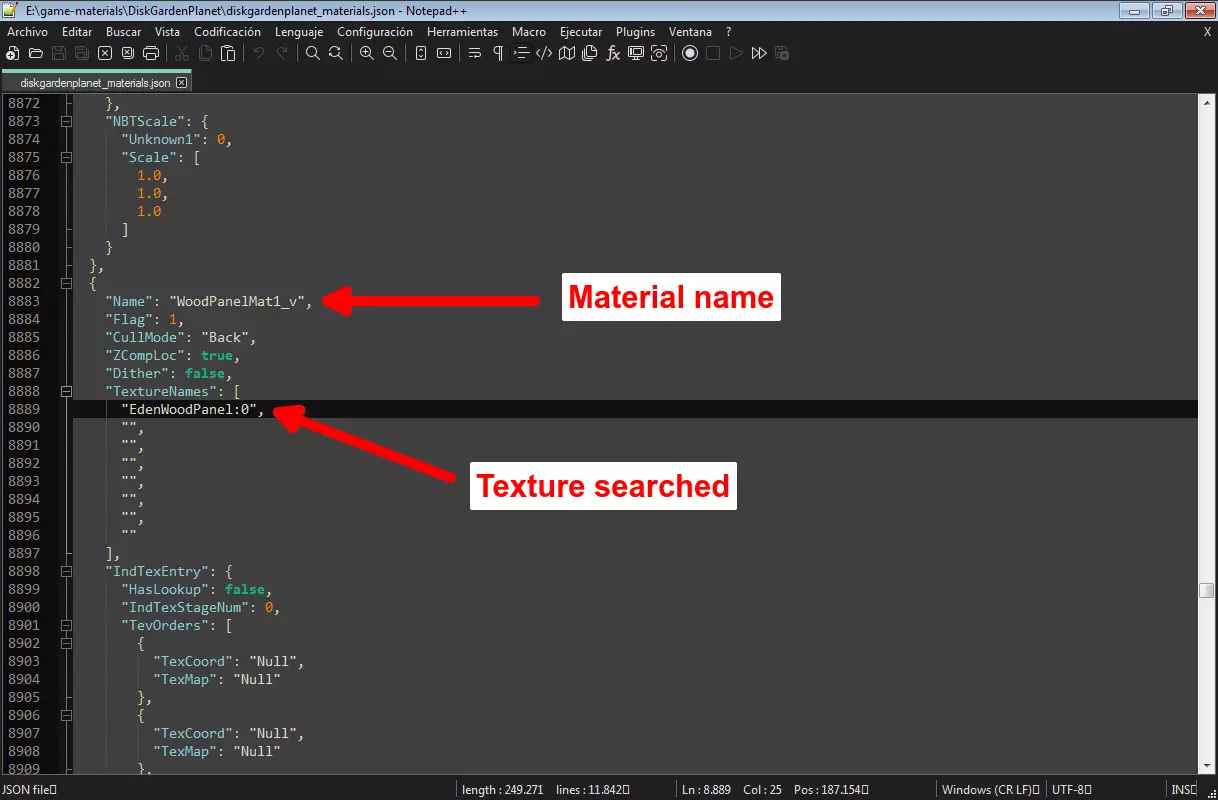
(Fig. 5 - Searching texture in materials JSON method)
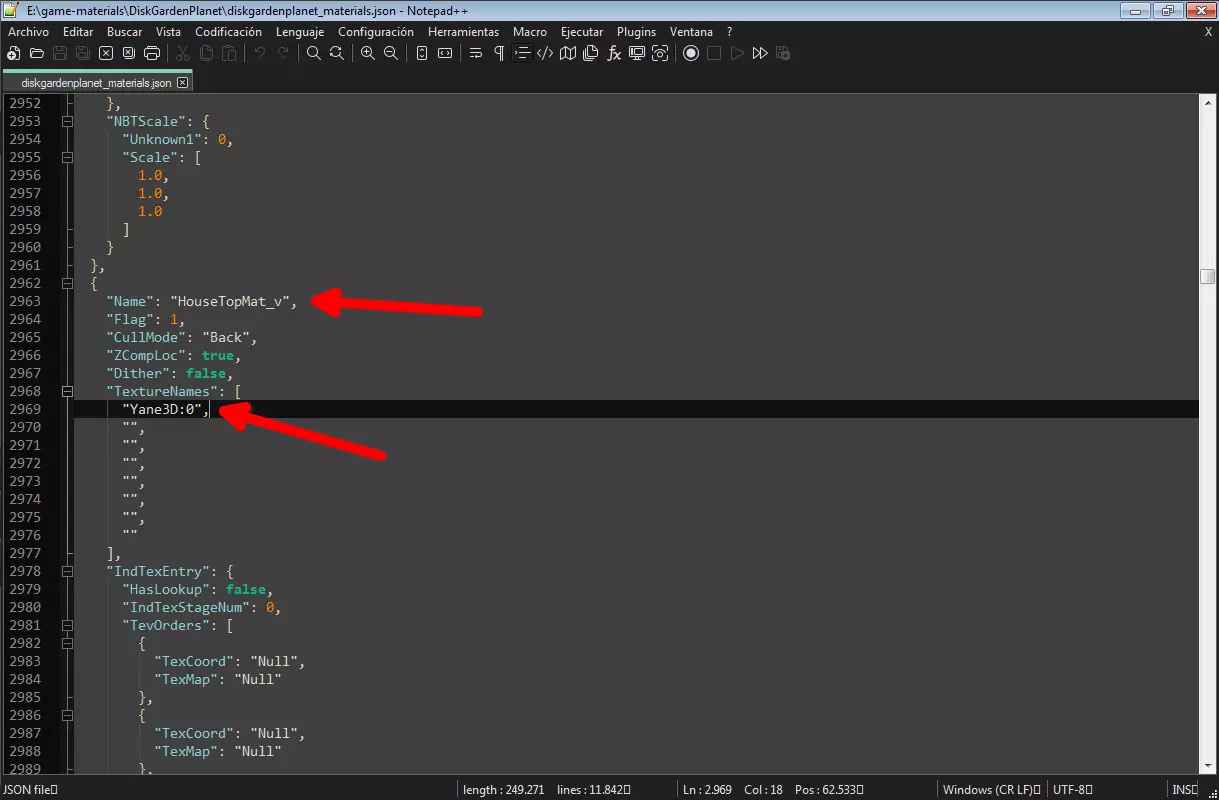
(Fig. 6)
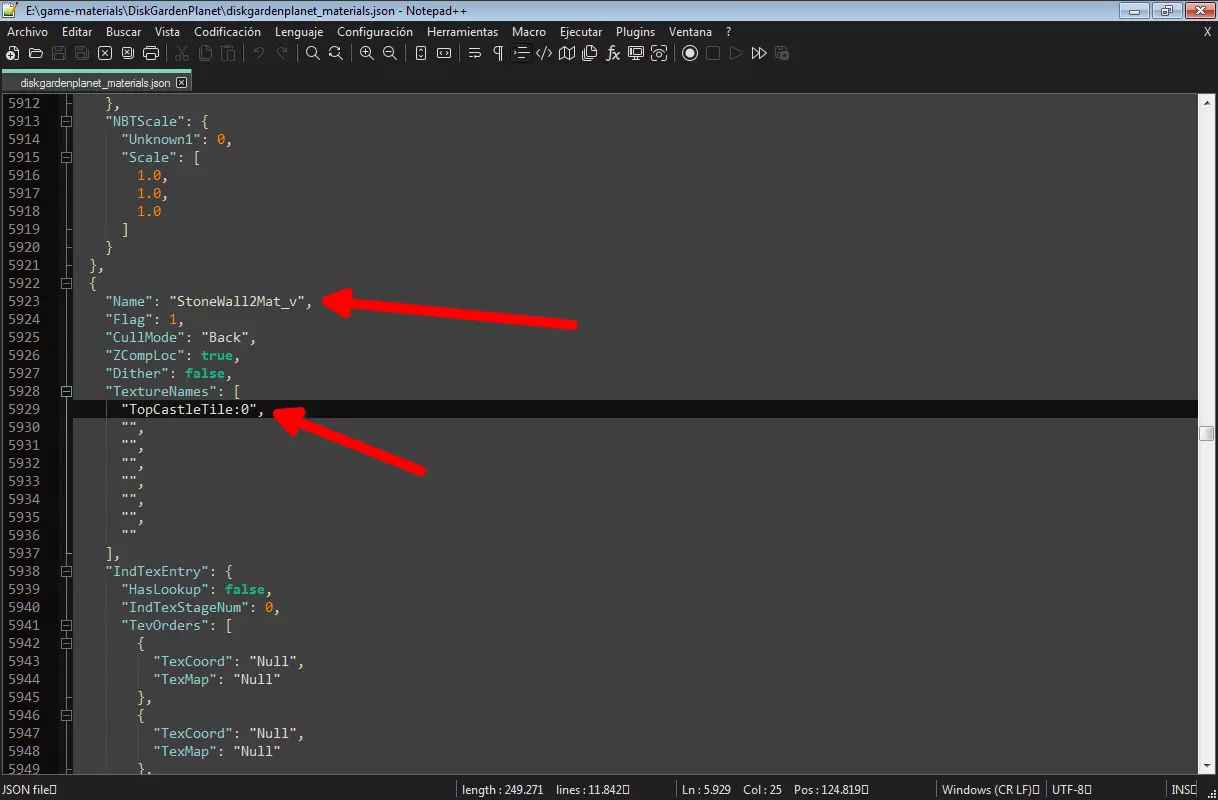
(Fig. 7)
Now, with the material names and PNG textures located, assign them to your object on Blender (Fig. 8). And export the model as an FBX and OBJ file.
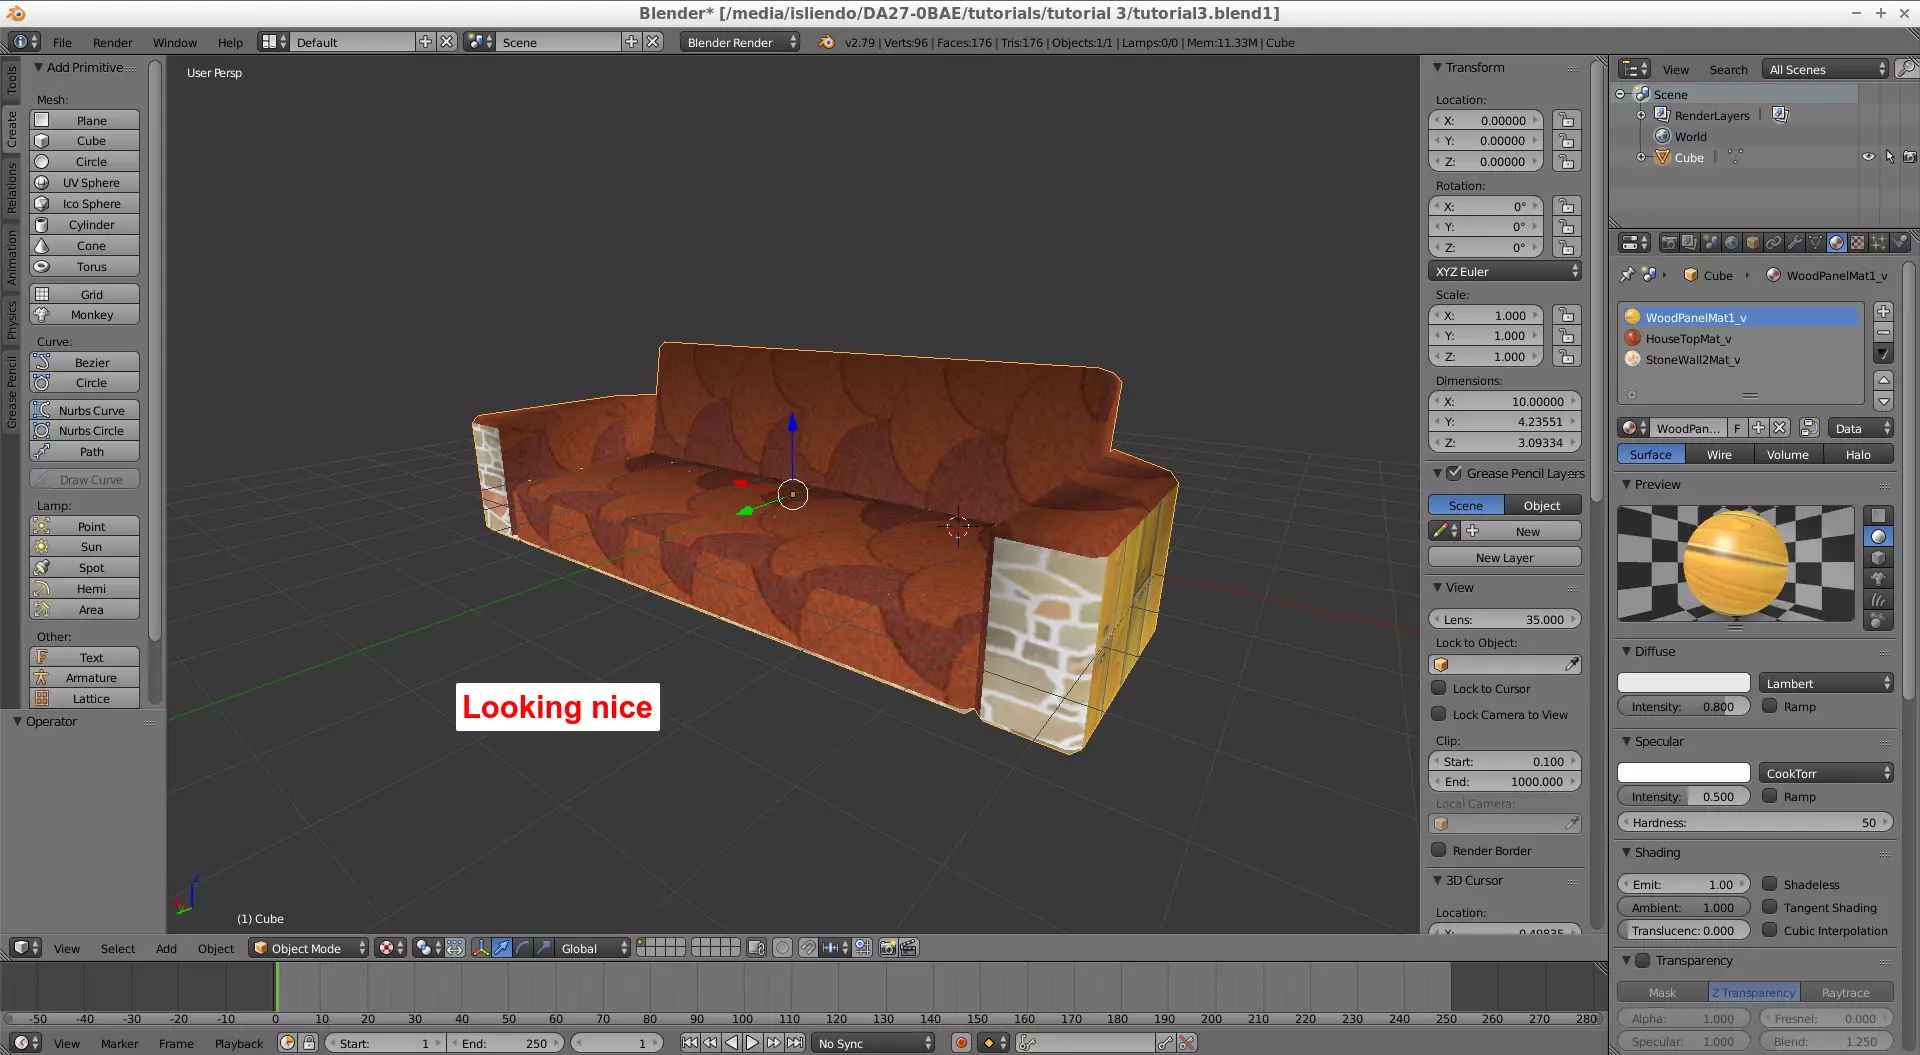
(Fig. 8 - Blender model with material's textures applied)
Create 2 TXT files, name them mymaterials and mytextures (for example, Fig. 9). Change their file extensions to JSON both (Fig. 10). Copy all textures used from the textures JSON to the mytextures.json and also copy all the materials used from the materials JSON to the mymaterials.json in the following way:
For materials:
    [
      {
        1st material data
      },
      {
        2nd material data
      },

      ...

      {
        N-esimal material data
      }
    ]
For textures:
    [
      {
        1st texture data
      },
      {
        2nd texture data
      },

      ...

      {
        N-esimal texture data
      }
    ]
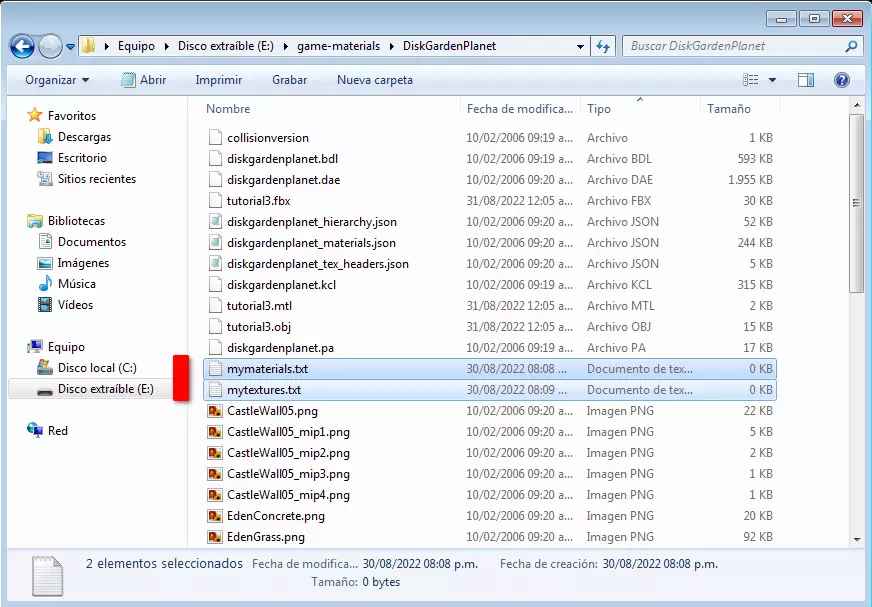
(Fig. 9 - TXT file creation)

(Fig. 10 - Change file extension from TXT to JSON)
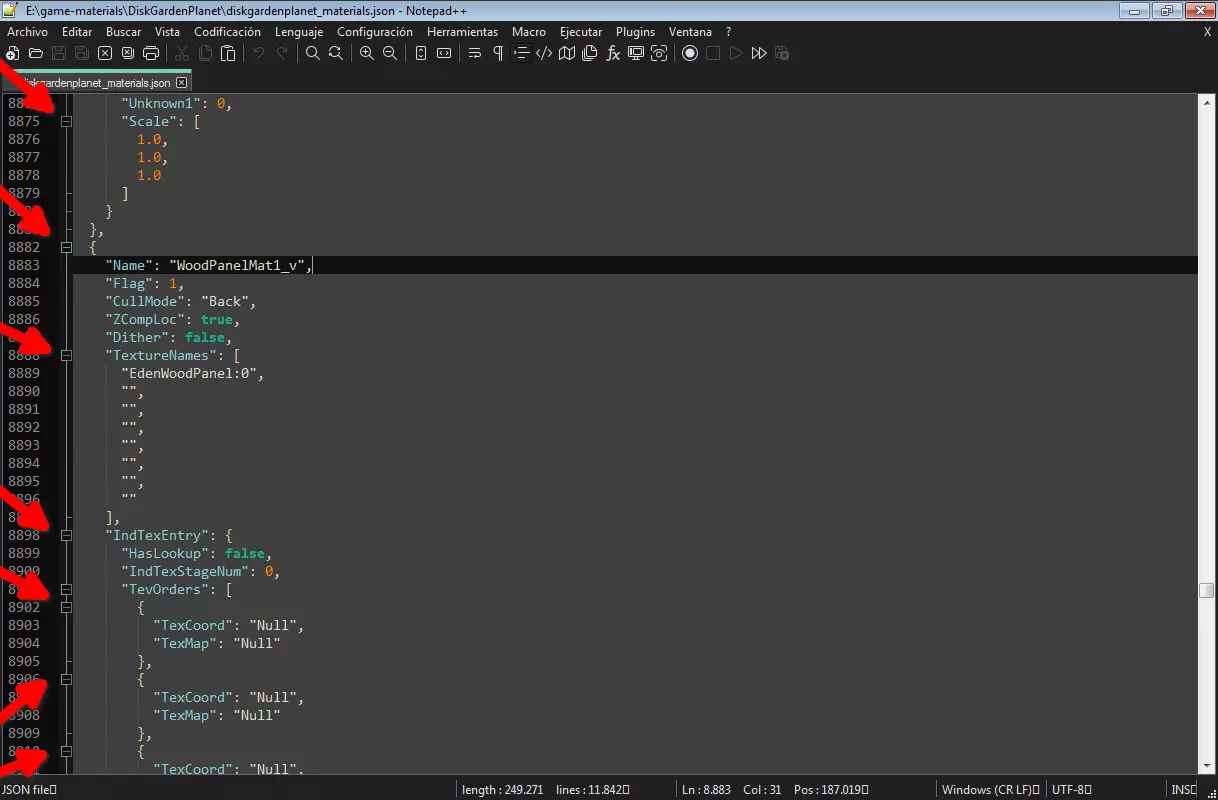
(Fig. 11 - - signs in Notepad++)
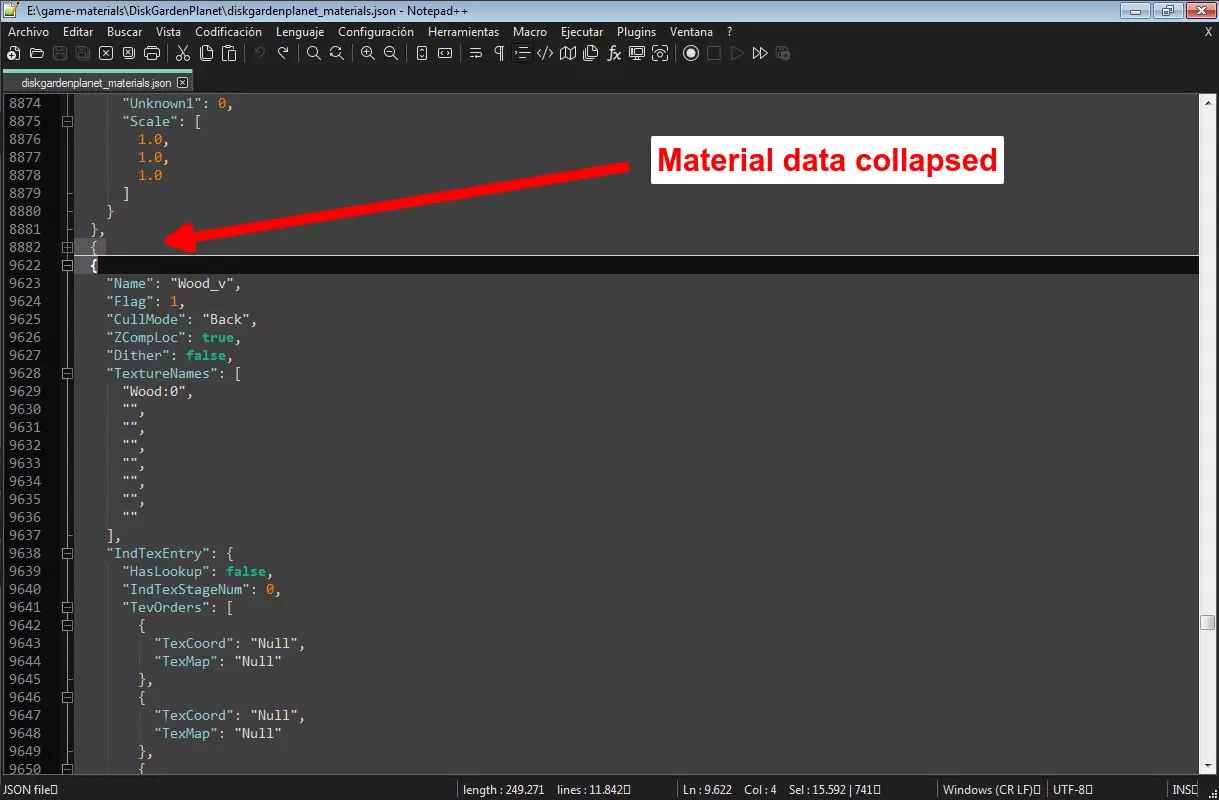
(Fig. 12 - Material data collapsed)
NOTE 1: material/texture data order does not matter (put them in the order you want keeping the above format).
NOTE 2: when copying materials, they can be quite long, for this, if on Windows, Notepad++ has a very handy feature, at the left part of the editor, there are like several - signs (Fig. 11). In the line before a material name that - sign will show up and if you click on it, the whole material section will collapse (Fig. 12). Now, copy the 2 lines that have the + and - signs at the left, and you will have copied the whole material data! with and extra { symbol (don’t forget to erase it!). In this way you can copy/paste the materials more easily. Geany on Linux also has this feature.
After setting up both new JSON files, create a BMD file with SuperBMD with the following command.
Formated code:
path\to\SuperBMD.exe object-name.fbx --mat mymaterials.json --texheader mytextures.json --rotate --nosort
Open/Save the BMD file created from SuperBMD with j3dview as a BDL file, create the collision files of your object (KCL and PA files) and finish doing what you’ve learned from the previous tutorials to import the model on game.
Now Mario can rest properly with high quality materials (Fig. 13).
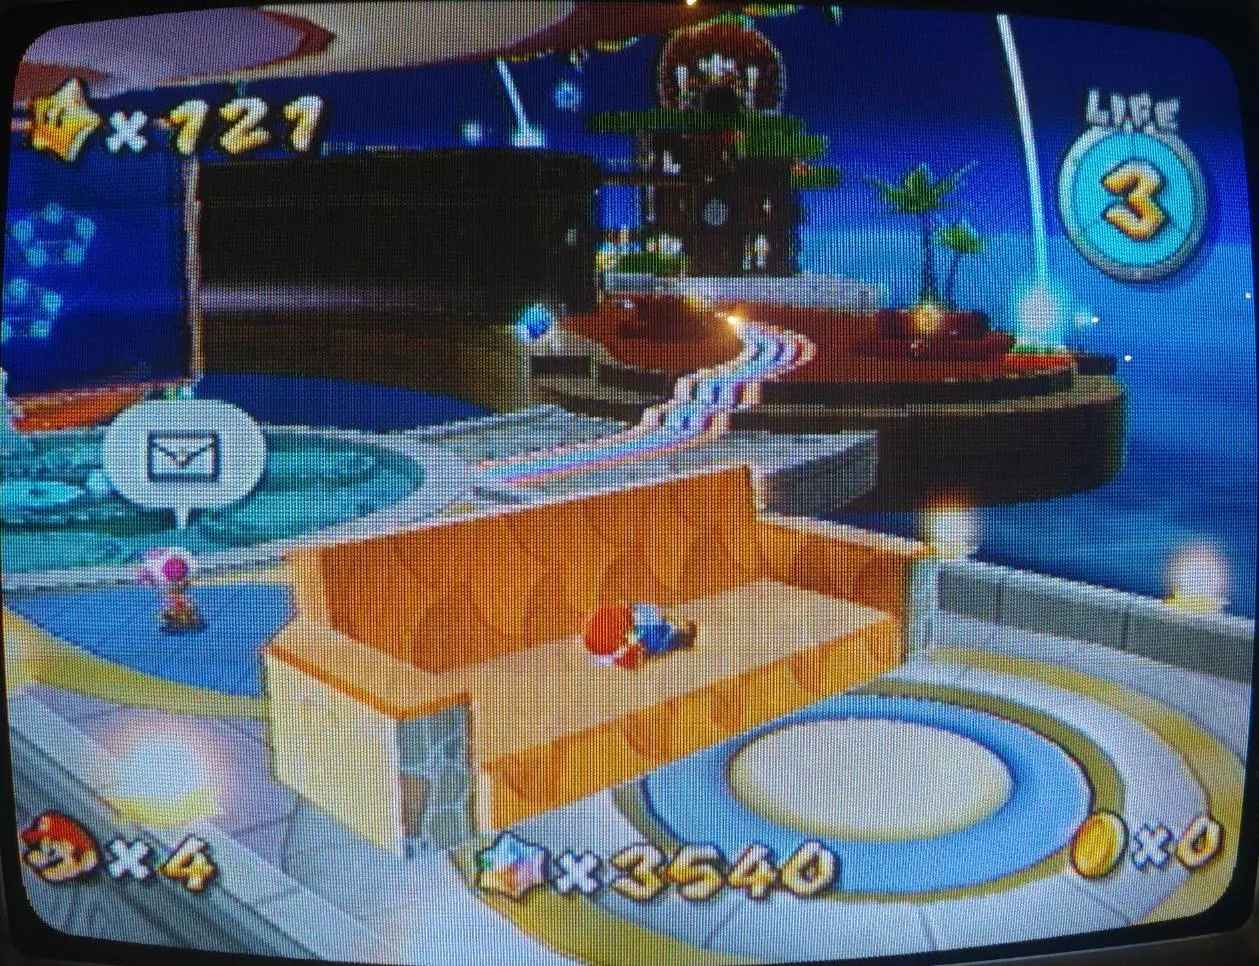
(Fig. 13 - Mario chilling on his new couch made out of roof)
Guides used
By Luma48: Tutorial 1 Tutorial 2