Contents
Required tools
Go to Resources for download links.
- Wiimm's SZS Toolset (WST)
Convert PNG to BTI
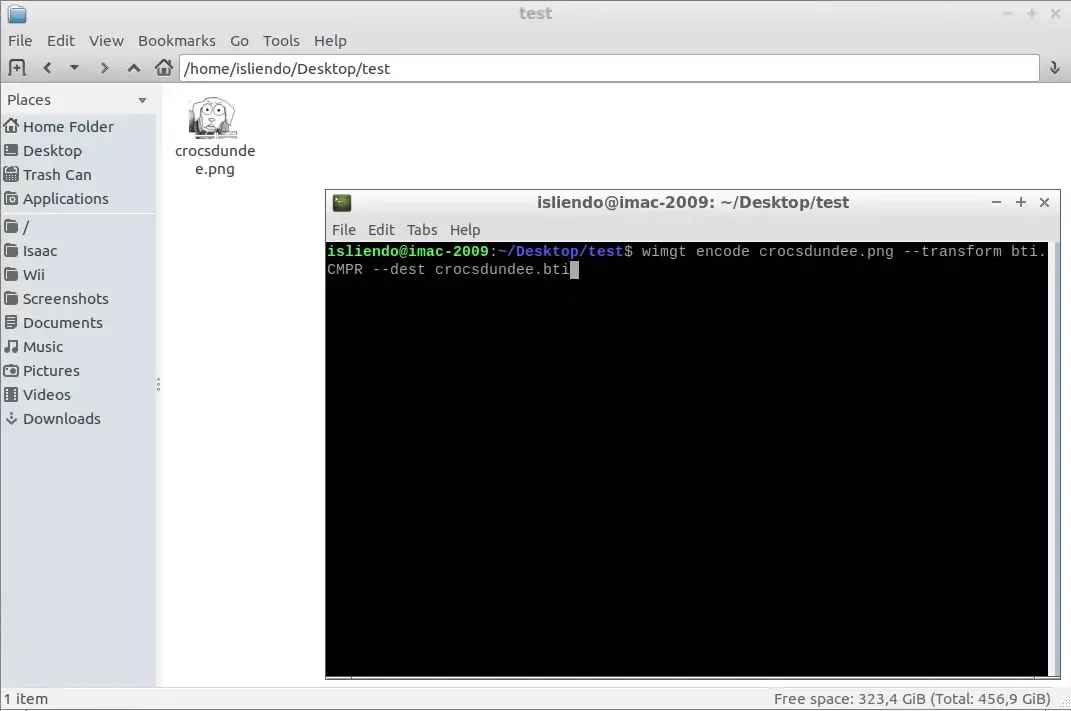
Open a CMD/Terminal window in the same place the PNG file you want to convert is located (Fig. 1).

(Fig. 1)
Type the following command and press enter to execute it (Fig. 2):
wimgt encode [PNG image] --transform bti.[Image Format] --dest [Output file]
Where:
encodetells wimgt to convert the PNG image into a specified format (enccan be used to substituteencode).[PNG image]is the input PNG image name to input of the desired PNG file to convert.--transformis used to tell wimgt to transform said PNG into the specified format that will be inputed next (-xcan be used to substitute--transform).bti.[Image Format]is used to tell wimgt to convert said PNG into a BTI file in the[Image Format]specified (CMPR, I4, RGB565, etc).--destis used to specify the destination and name of the converted file (can be ommited and can also be substituted by-d).--DESTcan also be used instead (which can be substituted by-D) and the difference is that with--DESTwimgt will create the destination directory automatically if it does not exist.[Output file]is the destination and name of the BTI to be created (if only the file name is provided the image will be created in the current directory in which the CMD/Terminal is opened).
(Fig. 2)
After doing that a BTI file should create on the [Output file] folder and name in the [Image Format] specified (Fig. 3).
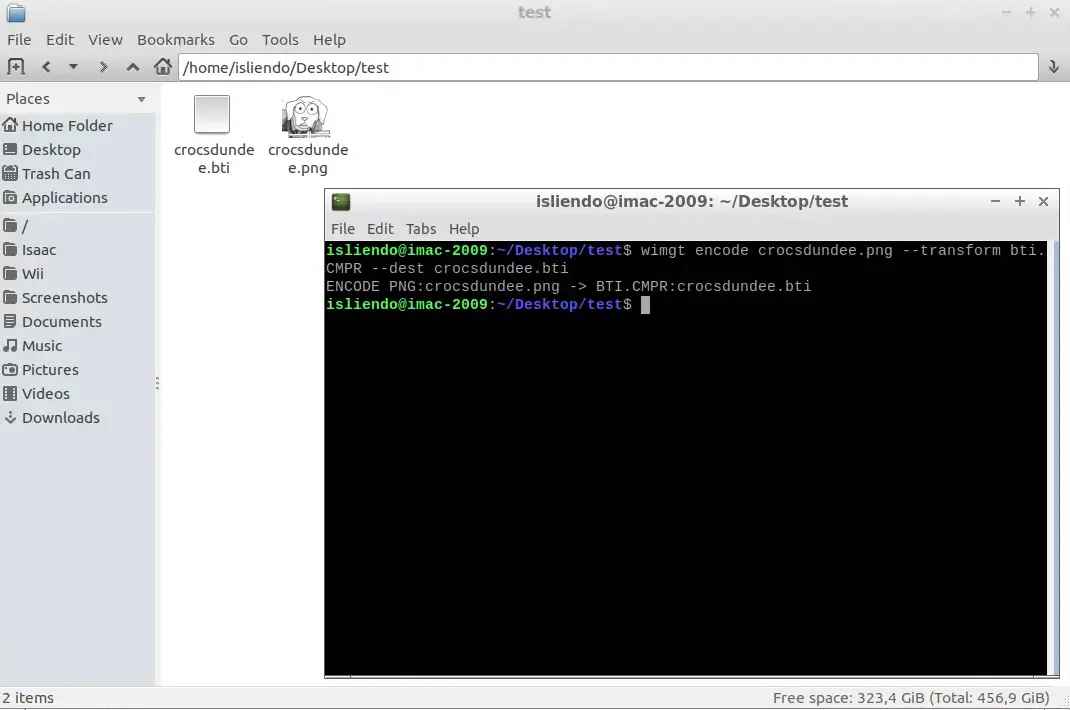
(Fig. 3)
NOTE 1: BTI files are always greater in size in relation to the PNG file from were it was created because of the mipmaps stored within them.
NOTE 2: Alternatively, you can use the wimgt copy [PNG image] [Output file] to create a BTI file fast without worrying about the [Image Format]. The resulting [Image Format] will be specified in the CMD/Terminal after the command is executed (in the command output).
NOTE 3: For more information about the BTI file format you can visit this link.
NOTE 4: For more information about the encode command-line option from wimgt you can visit this link.
Convert BTI to PNG
Open a CMD/terminal window in the same place the BTI file you want to convert is located (Fig. 4).
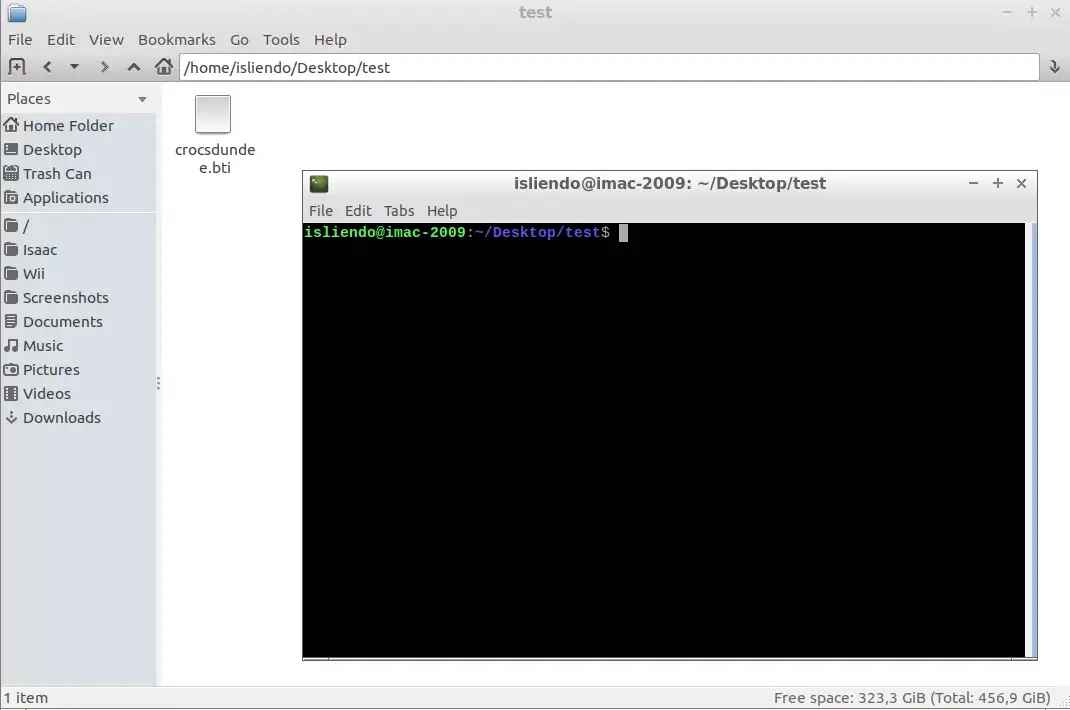
(Fig. 4)
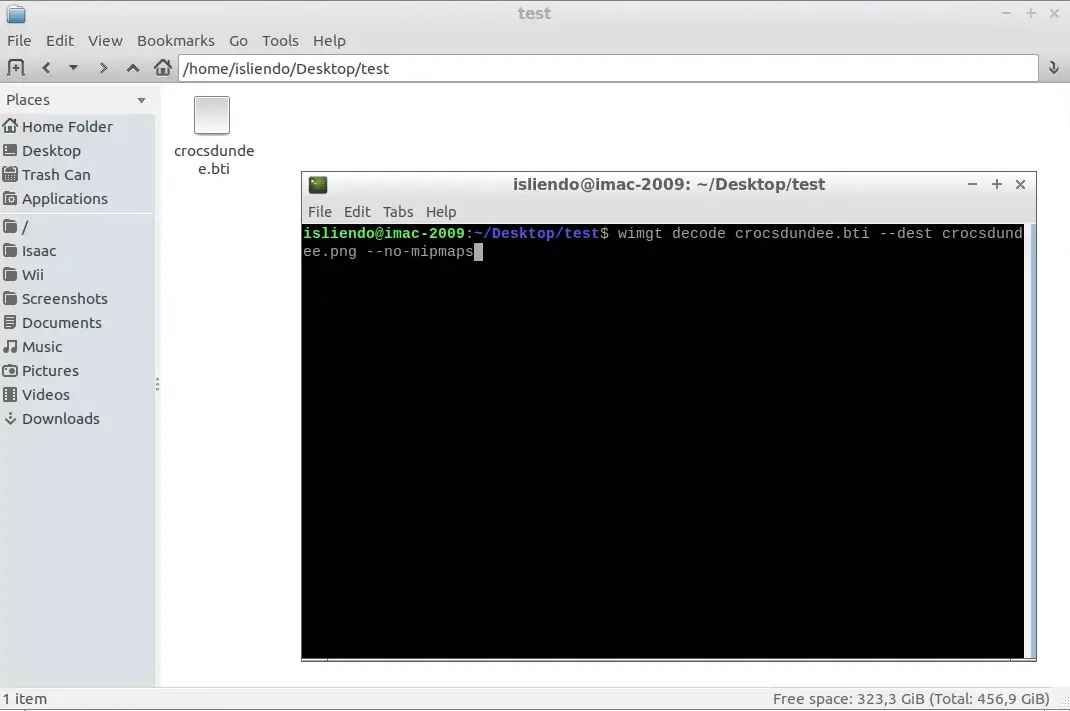
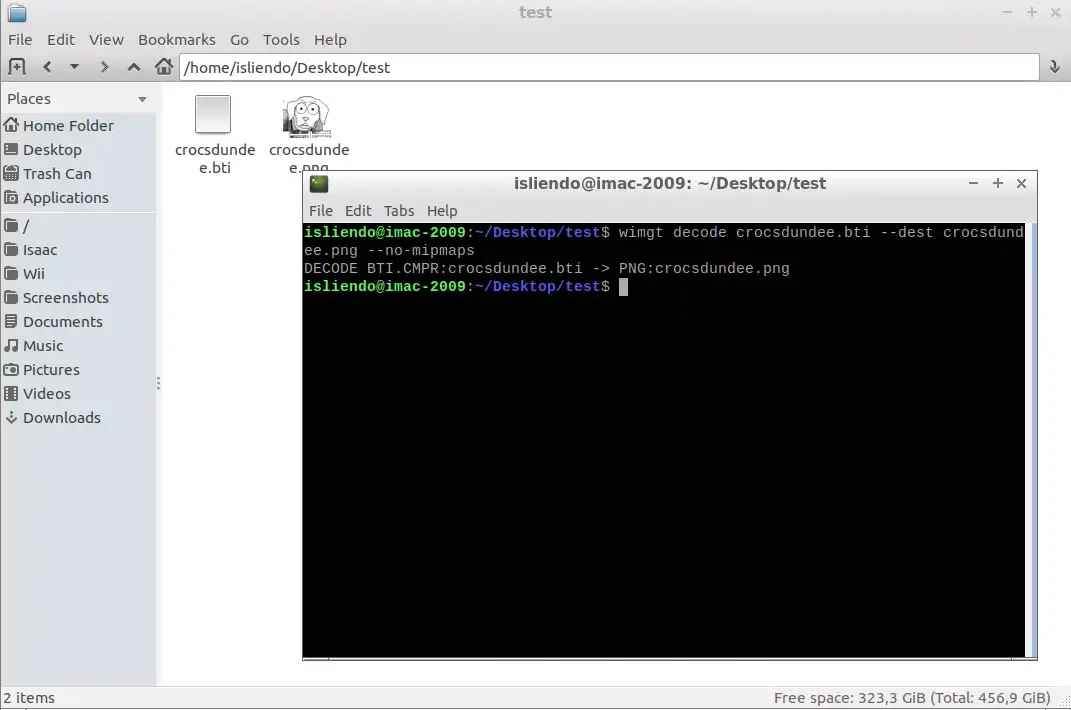
Type and enter the following command (Fig. 5):
wimgt decode [BTI file] --dest [Output file] --no-mipmaps
Where:
decodetells wimgt to convert the BTI (or another Nintendo Wii texture file supported by wimgt) into a PNG image (deccan be used to substitutedecode).[BTI file]is the input BTI file to be converted to PNG.--destis used to specify the destination and name of the converted file (can be ommited and can also be substituted by-d).--DESTcan also be used instead (which can be substituted by-D) and the difference is that with--DESTwimgt will create the destination directory automatically if it does not exist.[Output file]is the destination and name of the PNG to be created (if only the file name is provided the image will be created in the current directory in which the CMD/Terminal is opened).--no-mipmapsis used to specify wimgt to not extract the mipmaps stored in the BTI file (optional, can be substituted by--no-mm). One usually wants the original image extracted from a BTI file, not the mipmaps.
(Fig. 5)
After doing that a PNG file should create on the same folder as the BTI file (Fig. 6).
(Fig. 6)
NOTE 5: Alternatively, wimgt copy [BTI file] --dest [Output file] --no-mipmaps can also be used to convert a BTI image into a PNG image.
NOTE 6: BTI files extracted from j3dview can’t be converted/processed by wimgt for some reason. Other tool I tried to convert a j3dview exported BTI file said that the file was corrupted (maybe j3dview does not export correctly BTI files?).
NOTE 7: the --no-mipmaps (or --no-mm) flag is used to only get the base image used in the BTI file rather than all images within it (mipmaps).
NOTE 8: For more information about the decode command-line option from wimgt you can visit this link
NOTE 9: For more information about wimgt in general you can visit this link (a lot of stuff can be done with it)
- Thanks to Lord-G for the guidance!